This year Leica are celebrating their 100th anniversary. The very first Leica camera was invented by Oskar Barnack in 1914 and it became known as the Ur-Leica. For the first time film transport and shutter technology were combined in one camera.
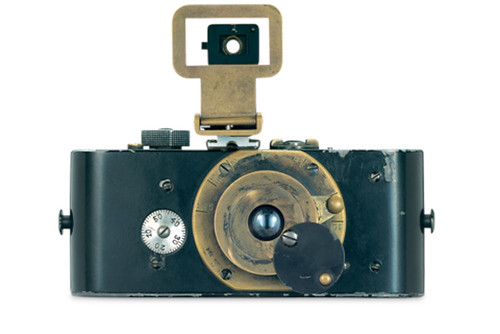 |
| Ur - Leica, 1914 |
During its 100 year history many models have been produced including the Leica II in 1932 which had an integrated rangefinder and interchangeable lenses. In 1954 the Leica M3 was produced and to this day is the epitome of the M System.
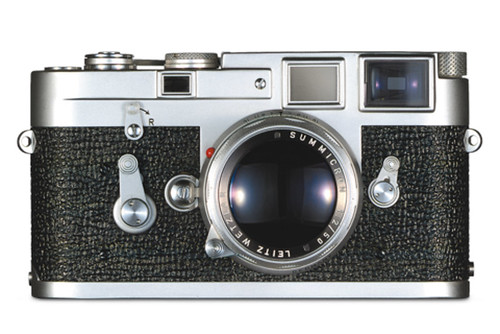 |
| Leica M3 |
Arguably Leica still manufacture the worlds finest cameras and lenses. Their classic rangefinder has been used by some of the most famous photographers of all time, to capture many truly iconic and memorable images. Here are just three examples for you to enjoy.
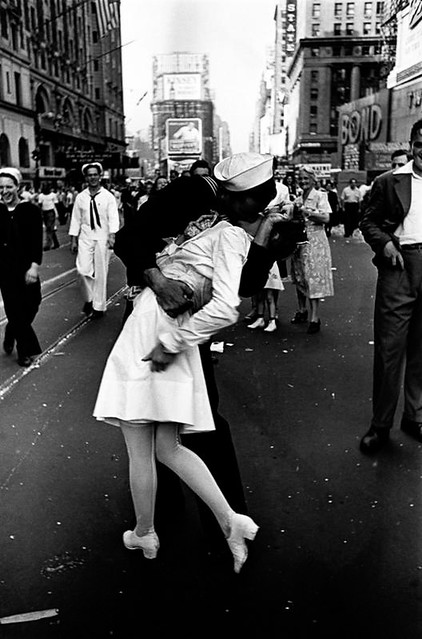 |
| V-J Day - Alfred Eisenstaedt, 1945 This photo appeared on the cover of Life Magazine and grew to become one of Alfred Eisenstadt's most well know images. 'People tell me' he once said, ' that when I am in heaven they will remember this picture' |
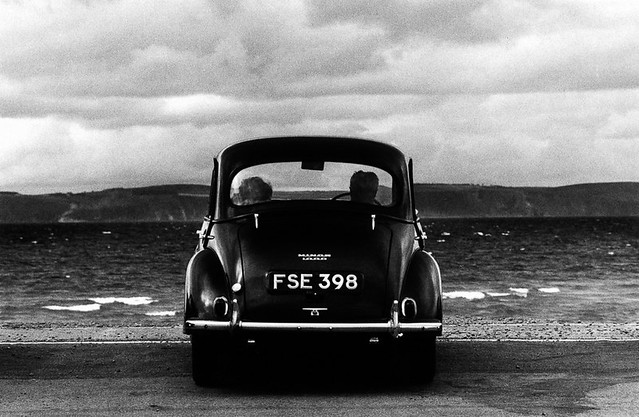 |
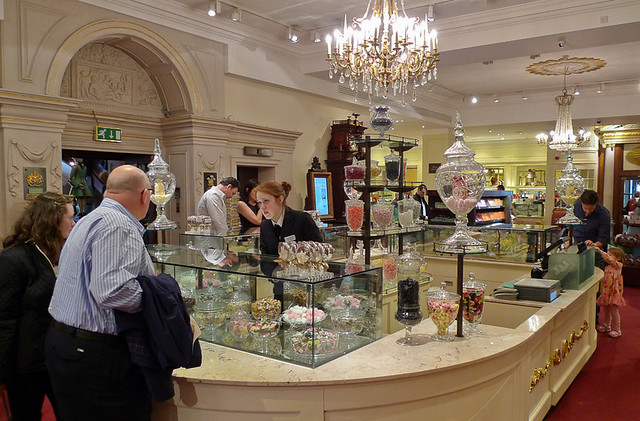
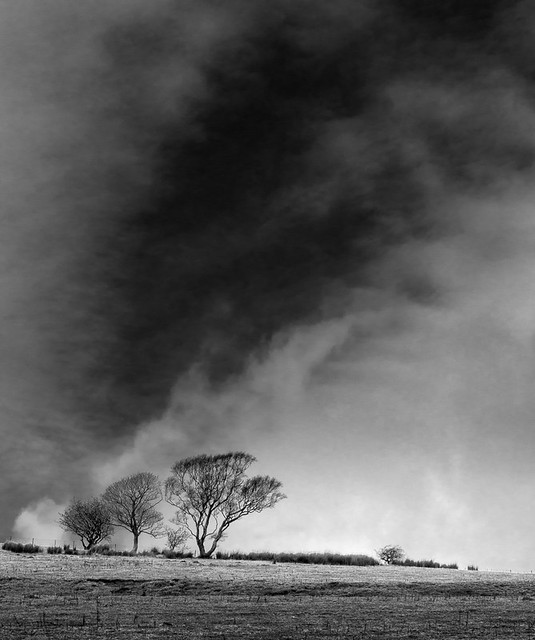
| England - Gianni Berengo Gardin, 1977 Gardin's images are considered classics of Leica Photography. Taken in black and white, they are quickly captured windows of everyday life, visual chamber plays of grand formal, aesthetic finesse, at times complex and at other times delicately harmonious. |
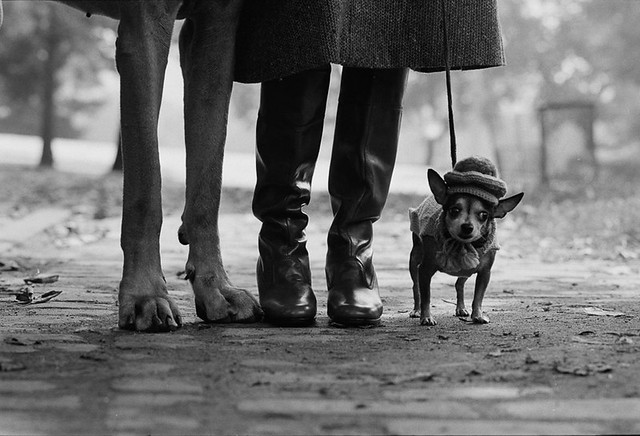 |
| New York City - Elliott Erwitt, 1974 Elliott Erwitt's passion focused on dogs - for him, they were the incarnation of human beings, with fur and a tail. His photo titled 'New York City' was taken for a shoe manufacturer. |
The three images and their descriptions were taken from 'The Legend Lives On - 100 years of Leica Photography' a page on the Leica website.
Today there are principally two digital M System cameras in their range. The M240 or M and the Monochrom, which only takes black and white images, yet is more expensive than the M which records colour and offers more features, such as live view and the ability to shoot video. There is also the ME which is based on the M9, the predecessor to the M, as well as two film cameras, the M7 and the MP.
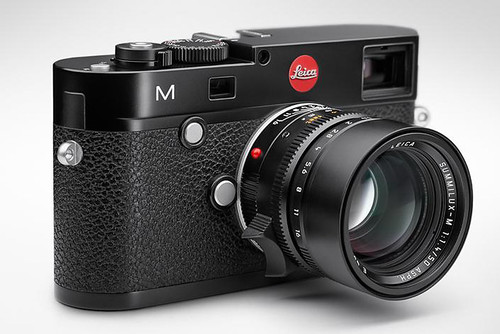 |
| The Leica M |
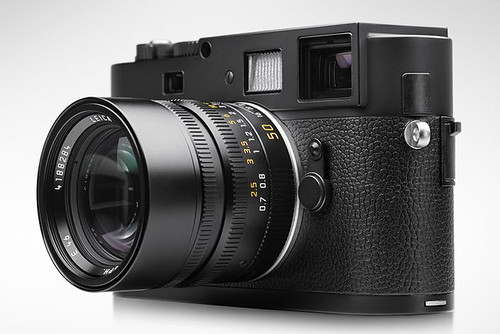 |
| The Leica Monochrom |
Although Leica has had to move with the times, the sheer quality and craftsmanship of their cameras and lenses, coupled with the simplicity of their operation is still at the very heart of their brand ethos. Their is no autofocus; the lenses are manual focus only. The aperture control is on the lens which still features a depth of field scale for zone focusing. The speed dial and the shutter release are on the top plate which together with the bottom plate is made of brass for durability. In fact on the rare occasion I have been able to hold a Leica it feels so well made, extremely solid, and the craftsmanship is second to none. These cameras and their lenses, handle superbly, are built to last and the hold their value well too. This is just as well as the initial outlay to buy a camera body and one or two lenses can easily reach five figures. They are the camera equivalent of a Rolex watch or a Ferrari sports car. An aspirational luxury brand with performance and a price tag to match. Very different to the norm but a real pleasure to own and to use.
As you would expect there is a wide range of lenses available with names like Summicron, Summilux and Noctilux all denoting the speed of the lens. f2, f1.4 and f1 respectively. The faster the lens the higher the price. The 50mm f0.95 Noctilux has a price tag of nearly £8,000! They are all designed to be used wide open and still produce sharp results from corner to corner.
 |
| The range of Leica lenses |
When comparing the 'basic' design of the first Leica camera with the Leica M, the very latest model, it's impossible not to notice a similarity. Yes, Leica has had to embrace the digital age and the requirements of todays photographers, but those fortunate enough to use a Leica, share a passion for both their craft and for their equipment. The simple controls put the photographer in control, but that doesn't mean to say its an easy camera to master. It's not like so many cameras of today - turn the camera on and let the mini computer with a lens attached do the rest - in other words a point and shoot! The quality of the lenses can produce the most stunning images, but the most expensive equipment in the wrong hands does not guarantee a great photograph.
Whether my photographic journey will ever lead me to owning a Leica is unclear. What I do know is that as part of their centenary celebrations Leica in London are offering 100 photographers the chance to 'test drive' the Leica M during a three hour workshop. They recommend you take your own SD card so that you can take home the results. My place is booked and given my love of black and white, I hope I will get the opportunity to experience the Monochrom as well. It might be the only chance I get to release the shutter on one of these superbly crafted cameras. A camera with a wonderful heritage and built in temptation!